Winnetou63326@legacy41582183 (talk | contribs) |
Tifi58537@legacy41577590 (talk | contribs) (Bongos2 and Bongos3 behave differently here.) |
||
| Line 38: | Line 38: | ||
=== Notes and Tips for Ghost Form Controls === |
=== Notes and Tips for Ghost Form Controls === |
||
| − | * Bartender, |
+ | * Bartender, Bongos3, Dominoes all have a function called 'posses' bar. This function is for when you take direct control over another entity. Specifically when you change point of view to that entity. (as apposed to just having it as a pet) Bongos2 uses the pet bar. |
* Testing - [[Steam Tonk Controller]] is the best test at 3 Mithril Bars and 1 Gold Power Core. Where ever your controls for those come up, is where you will find the controls for spirit form in this encounter. |
* Testing - [[Steam Tonk Controller]] is the best test at 3 Mithril Bars and 1 Gold Power Core. Where ever your controls for those come up, is where you will find the controls for spirit form in this encounter. |
||
Revision as of 21:51, 7 August 2008
- This article is about the in-game raid boss. For character biography and other appearances, see Teron Gorefiend.
| Teron Gorefiend | |||||||
|---|---|---|---|---|---|---|---|
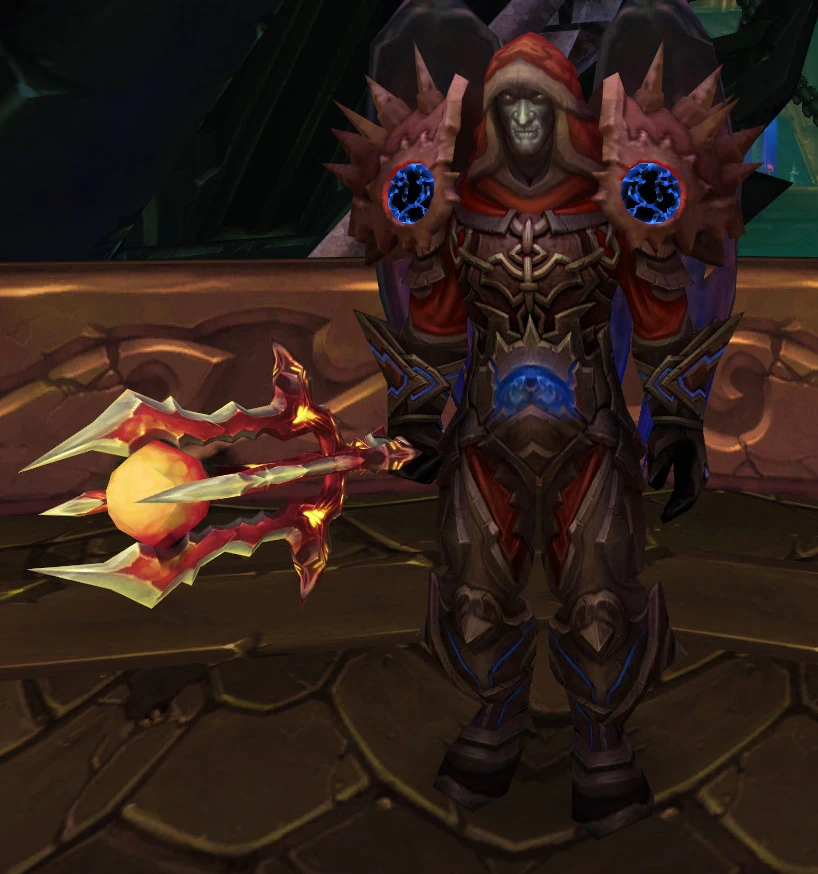 | |||||||
| Race | Undead | ||||||
| Level | ?? Elite (Boss) | ||||||
| Location | Gorefiend's Vigil, Black Temple | ||||||
| |||||||
Teron Gorefiend is a boss in the Black Temple. The fight is basically a DPS race, with a twist. Killing Gorefiend is a prerequisite for opening the door leading to Mother Shahraz. He's usually killed fourth when clearing BT.
Abilities
Teron Gorefiend
- Health: 4,100,000
- Mana: 1,693,500
- Melee: ~6k normal hit on plate (can crush and crit)
- Incinerate: Random fire attack every ~20 sec dealing ~3000 Fire Damage plus 4 sec DOT for ~2500/Second, dispellable by priests and paladins
- Doom Blossom: A dark cloud appears for over 2 minutes which deals direct damage Shadow Bolts for 1500 Shadow Damage
- Crushing Shadows: A 15 sec. debuff hitting 5 random raid members, increasing shadow damage taken by 60%
- Shadow of Death: This debuff is dealt to a random target every 30 seconds. It kills the target after 55 sec, spawning four Shadowy Constructs and turning the player into a Ghost for 60 seconds
Shadowy Constructs:
- Melee: ~300 on cloth
- Shadow Strike: melee attack doing roughly 2500 shadow damage. Not resistible.
- Atrophy: 60 sec debuff applied on melee hit which decreases attack speed by 5%, stacks up to 10 Times. Not removable
- Immune: Immune to all attacks by normal players, can only be harmed by players in the Ghost form
- Aggro: random aggro on normal raid members, attack Ghosts only after all other players are dead
Ghost form player
- Spirit Strike - key '1' - Short Range 638-862 damage, -10% Damage Dealt for 5 Seconds
- Spirit Lance - key '3' - Long Range 6175-6825 damage, Slow -30% Movement Speed for 9 Seconds, Stacks up to 3 times
- Spirit Chains - key '4' - Short Range AoE shackle 1900-2100 Damage, shackle Lasts 5 Seconds, 15 sec cooldown
- Spirit Volley - key '5' - Short Range AoE 9900-12100 damage, 15 sec cooldown
- Spirit Shield - key '7' - 30 sec buff which absorbs 11400-12600 Shadow Damage, 1.5 Minutes cooldown
Notes and Tips for Ghost Form Controls
- Bartender, Bongos3, Dominoes all have a function called 'posses' bar. This function is for when you take direct control over another entity. Specifically when you change point of view to that entity. (as apposed to just having it as a pet) Bongos2 uses the pet bar.
- Testing -
 [Steam Tonk Controller] is the best test at 3 Mithril Bars and 1 Gold Power Core. Where ever your controls for those come up, is where you will find the controls for spirit form in this encounter.
Preparation
Only one single tank is needed, all other tanks should switch to DPS or Healing gear. The Gorefiend tank has to deal with solid melee damage. The usual mix of damage dealers and healers (6-8) is reasonable for this fight.
The whole raid needs the ![]() [Shadow Protection] buff.
[Shadow Protection] buff. ![]() [Cauldron of Major Shadow Protection] is also really useful. It's possible to wear some extra shadow resistance, but not much - it's a DPS race, not a battle for survival. Soulstones should be created pre-fight, but not pre-cast. They are needed for healers getting Shadow of Death.
[Cauldron of Major Shadow Protection] is also really useful. It's possible to wear some extra shadow resistance, but not much - it's a DPS race, not a battle for survival. Soulstones should be created pre-fight, but not pre-cast. They are needed for healers getting Shadow of Death.
Teron can be tanked right where he stands, and ranged DPS should group behind the MT opposite to the entrance. This gives the whole length of the room for the Ghost form players to kill the Shadowy Constructs.
Teron Gorefiend
Teron himself has a relatively low amount of health and must be killed as quickly as possible. It's fairly standard tank and spank, he's not tauntable, but a good tank can control him rather easily. As usual, melee DPS must stand behind him to avoid increasing his attack speed by parries. 3-4 healers should be able to keep the tank up, the other healers should take care of the massive damage the raid takes (this is another fight where ![]() [Chain Heal] and
[Chain Heal] and ![]() [Circle of Healing] are very effective).
[Circle of Healing] are very effective).
Incinerate (the fire dot) must be dispelled as soon as possible, two Priests or Paladin dispellers should be predesignated.
All damage enhancing, long-cooldown abilities like ![]() [Bloodlust] (or
[Bloodlust] (or ![]() [Heroism]) should be used as early as possbile after the tank has settled into an initial threat lead.
[Heroism]) should be used as early as possbile after the tank has settled into an initial threat lead.
Shadow of Death
Every 30 seconds, a random raid member (not the person with aggro) receives this debuff. After 55 seconds, the debuff turns the player into a Ghost and spawns four Shadowy Constructs. The Constructs attack the raid, and usually cause a wipe if they succeed. Therefore, the Ghost player must kill them before they reach the raid, by kiting and nuking them with the Ghost abilities.
After the 60 seconds ghost phase, the player simply dies. Healers (ex. Shamans with an available Ankh) should get a Soulstone when they receive the debuff, so that they can resurrect at this point.
About 15-20 seconds before the debuff runs out, the affected raid member must move to the south end (as far away from the raid as possible). The first action after turning into a Ghost should be to AoE damage the Constructs with Spirit Volley (key '5'), move with the group and then AoE freeze them with Spirit Chains (key '4') as soon as the GCD allows. During the 15 sec cooldown, the Constructs must be nuked with Spirit Lance (key '3'), which damages and slows a single Construct.
This is the most difficult phase for the Ghost player - while slowly moving backwards towards the raid, all four constructs must be hit with Spirit Lance in turn to keep them all slowed and close together. Each Spirit Lance should hit a different target (either using the Tab key or mouse for targeting in a rotation). After 15 seconds, a second combination of Volley ('5') and Chains ('4') is available, after that the Constructs should have taken enough damage to die with 2-3 more Spirit Lances.
After the four Constructs are dead, it is a good idea to look for Constructs from the next player, and help kill them. If no Constructs are up, it's possible to move to the raid and buff a healer with Spirit Shield ('7'), and then get within melee range of Teron and attack him with Spirit Strike ('1').
Since learning the Kite'n'Nuke technique required for killing the Constructs may be difficult for classes which normally do not kite, and learning it under raid conditions is rather expensive (one wipe per try), it's a good idea if all raid members practice using the Teron Gorefiend's Shadowy Construct simulator before attempting him. The simulator is not a replacement for the real thing, but it gives players the general idea what to expect.
Do not try to exploit this encounter by disconnecting or hearthing out. Doing so immediately spawns the constructs with no friendly ghost to kill them. That is a wipe.
Notes
- Players with the debuff should not die by any other cause while still fighting Gorefiend, because in that case the Constructs spawn directly in the raid, and this frequently starts a wipe
- If there are any problems (like high latency or slow reaction time), it's better to skip the first Spirit Volley. The safest approach in that case is to spam '4' for the last seconds before the debuff runs out, to make sure the Constructs are frozen
- In some cases the Ghost abilities may either be placed on the main bar or a pet bar. It's also possible (due to UI mod configuration or a bug) that the pet bar doesn't reliably appear in combat. It may be a good idea to prepare a few macros for the Ghost abilities before the fight. The Ghost controls use the same "Possession" mechanic as the Chess Event in Karazhan and the
 [Battered Steam Tonk Controller] item.
 - For the tank it's tank & spank and because he hits fairly hard, Gorefiend is usually regarded as an excellent encounter to test threat techniques and maximizing it.
Quotes
Teron Gorefiend
- "I was the first, you know. For me, the wheel of death has spun many times. <laughs> So much time has passed. I have a lot of catching up to do..."
Aggro:
- "Vengeance is mine!"
Kills a player:
- "I have use for you!"
- "It gets worse..."
Doom Blossom:
- "Death...<chuckles> Really isn't so bad."
- "I have something for you..."
Incinerate:
- "YOU WILL SHOW THE PROPER RESPECT!"
- "What are you afraid of?"
Crushing Shadows:
- "Give in!"
Death:
- "The wheel...spins...again...."