Aleandar1669@legacy41523161 (talk | contribs) No edit summary |
Aleandar1669@legacy41523161 (talk | contribs) No edit summary |
||
| Line 6: | Line 6: | ||
'''NOTE''': Though some of these bosses are quoted as "Raid 40", they often require fewer players of the maximum level. At the time these bosses were introduced in the game it required 40 people to down them. |
'''NOTE''': Though some of these bosses are quoted as "Raid 40", they often require fewer players of the maximum level. At the time these bosses were introduced in the game it required 40 people to down them. |
||
| − | =World Bosses= |
+ | =[[Raid_Bosses/World_Bosses|World Bosses]]= |
| + | [[Raid_Bosses/World_Bosses|World Bosses]] are by definition bosses who are outdoors. They can be attacked by an indefinite amount of players, though only one group will be able to loot the boss, and usually a group of 40 players in [[Azeroth]] and 25 players in [[Outland]] should do the trick. |
||
| − | {{:Raid_Bosses/World_Bosses}} |
||
| + | |||
| − | {{clrl}} |
||
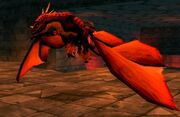
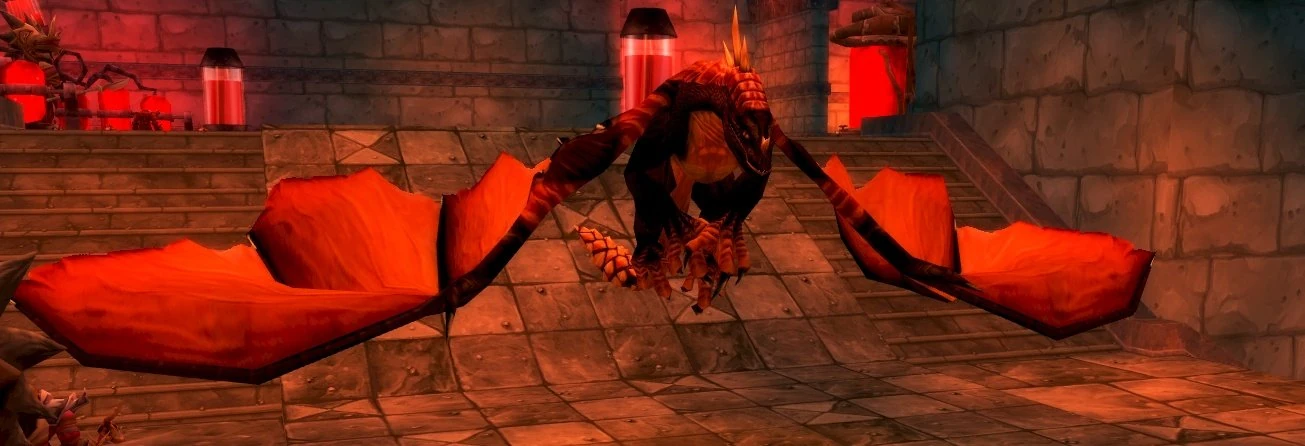
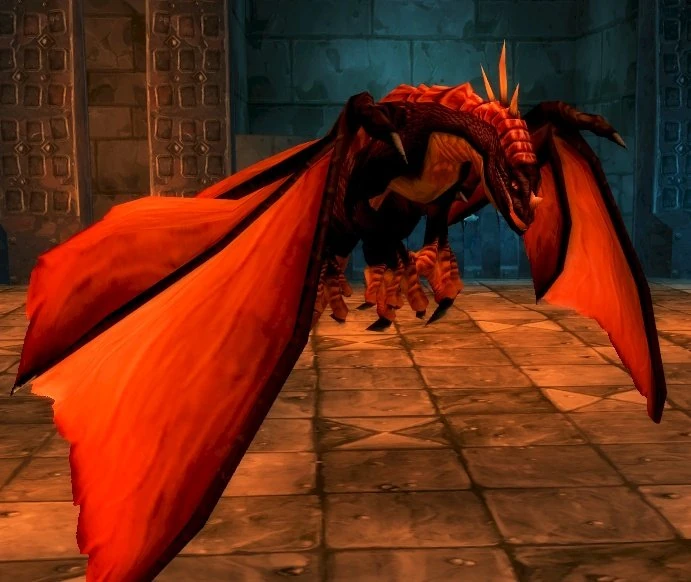
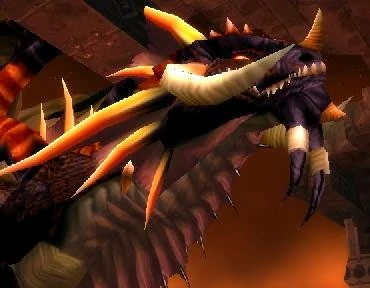
| + | Amongst the most famous bosses are the 4 dragons of the [[Nightmare|Emerald Nightmare]]. |
||
| + | |||
| + | '''For a more detailed overview of all World Bosses, click [[Raid_Bosses/World_Bosses|here]].''' |
||
| + | |||
=Event Bosses= |
=Event Bosses= |
||
Revision as of 07:48, 13 June 2007
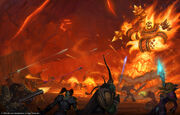
Raid Bosses are bosses which require a raid to defeat. Typically you'll only encounter raid-bosses from level 60 and upwards. Their level is often unknown and thus depicted by a skull instead of the level.
Pre-Burning Crusade, the raids required 40 people to down a boss. In Outland, raids consist out of 10- or 25-people. World bosses, bosses that aren't found in an instance, allow an unlimited amount of players to challenge them (although only one group will get credit for the kill).
NOTE: Though some of these bosses are quoted as "Raid 40", they often require fewer players of the maximum level. At the time these bosses were introduced in the game it required 40 people to down them.
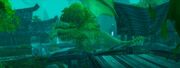
World Bosses
World Bosses are by definition bosses who are outdoors. They can be attacked by an indefinite amount of players, though only one group will be able to loot the boss, and usually a group of 40 players in Azeroth and 25 players in Outland should do the trick.
Amongst the most famous bosses are the 4 dragons of the Emerald Nightmare.
For a more detailed overview of all World Bosses, click here.
Event Bosses
These are bosses, typically outdoor bosses, who only spawn during a specific world event. After this event, the bosses will no longer be available, unless the event is a yearly event.
Opening of The Gates of Ahn'Qiraj
Colossus of Ashi
Colossus of Ashi
Location: Silithus
Raid 40
One of the three Silithid Colossi that spawn in the Silithus hives during the Ahn'Qiraj event. Reports about these bosses point to very long fights. They hit for 10.000 damage on cloth and use a 5.000 damage AoE knockback. If you happen to survive the knockback, odds are the fall with kill you.
Colossus of Regal
Colossus of Regal
Location: Silithus
Raid 40
One of the three Silithid Colossi that spawn in the Silithus hives during the Ahn'Qiraj event. Reports about these bosses point to very long fights. They hit for 10.000 damage on cloth and use a 5.000 damage AoE knockback. If you happen to survive the knockback, odds are the fall with kill you.
Colossus of Zora

Colossus of Zora
Location: Silithus
Raid 40
One of the three Silithid Colossi that spawn in the Silithus hives during the Ahn'Qiraj event. Reports about these bosses point to very long fights. They hit for 10.000 damage on cloth and use a 5.000 damage AoE knockback. If you happen to survive the knockback, odds are the fall with kill you.
Lieutenant General Nokhor
Lieutenant General Nokhor
Location: Silithus, Tanaris
Raid 40
General Rajaxx's right hand man, Nokhor led the attack on Silithus and Tanaris when the Gates of Ahn'Qiraj were opened. Reports say that he uses Mortal Strike, and a deadly AoE knockback. He has an high chance to drop extremely rare world drops.
Lunar Festival
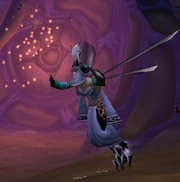
Omen

Omen
Location: Moonglade
Raid 40
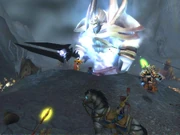
A demigod blessed by Elune, Omen was once a staunch ally of the Night Elves. However, during the War of the Ancients, his sanity was shattered, and he turned against his allies. He rampaged across the land until finally being defeated in the village of Nighthaven. However, despite his insanity, he still carries the blessing of Elune, and as such is immortal. And every year, during the Lunar Festival, he rises again. He has a deadly AoE Starfall that deals large amounts of Arcane damage.
Quest Bosses
Baron Kazum
Baron Kazum
Location: Silithus
Raid 40
A member of the Abyssal High Council, he uses a powerful Mortal Strike, as well as an AoE that knocks down and disarms opponents.
Emissary Roman'khan
Emissary Roman'khan
Location: Silithus
Raid 40
The anubisath Roman'khan is an Emissary of the Qiraji, delivering the will of the Twin Emperors to the overlords of Hive'Ashi, Hive'Zora and Hive'Regal. He has an AoE ground stomp that deals Nature damage. The world event to open the Gates of Ahn'Qiraj begins after the first time he's been killed.
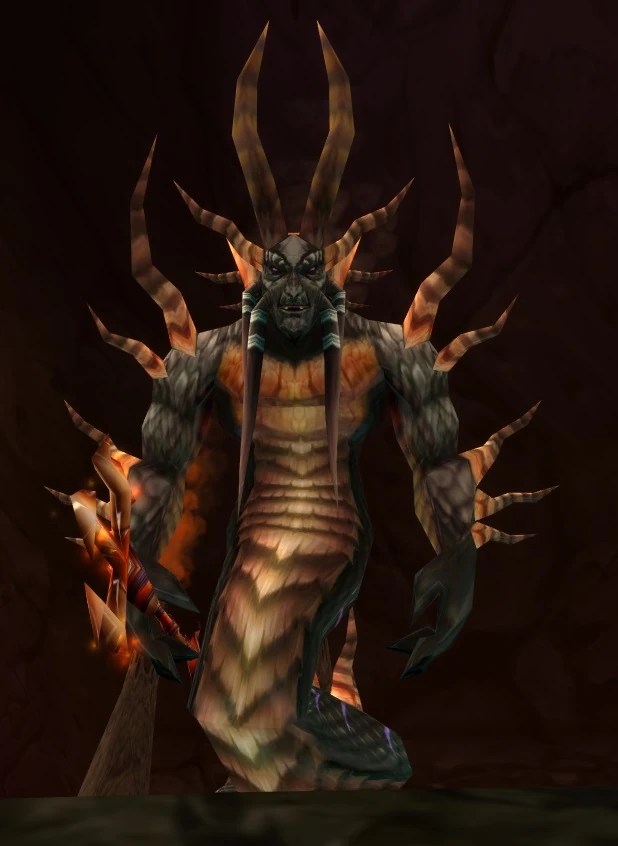
Eranikus, Tyrant of the Dream

Eranikus, Tyrant of the Dream
Location: Moonglade
Raid 40
Eranikus was the keeper of the green shard of the Scepter of the Shifting Sands. However, when assigned by Ysera to attack the Temple of Atal'Hakkar, Eranikus randomly entered the Emerald Dream. Although normal amongst green dragons, Eranikus entered into the swirling chaos of the Nightmare, and the Old Gods possessed him in his state of weakness. Now the Tyrant of the Dream, Eranikus must be defeated in order to recover the shard. During Phase 1 of the encounter, players must contend with dozens of Nightmare Phantasms, which gain in power whenever they kill. In Phase 2, players battle Eranikus himself, who has an immensely powerful Shadowbolt Volley. Keeper Remulos must also be kept alive throughout the encounter.
High Marshal Whirlaxis
High Marshal Whirlaxis
Location: Silithus
Raid 40
A member of the Abyssal High Council, he uses a powerful Chain Lightning, Hurricane, and a knockback that sends players flying into the air for approximately 2000-3000 fall damage.
Lord Skwol
Lord Skwol
Location: Silithus
Raid 40
A member of the Abyssal High Council, he uses Sunder Armor and a Nature AoE that applies a stackable poison. He is said to be the hardest member of the High Council to kill.
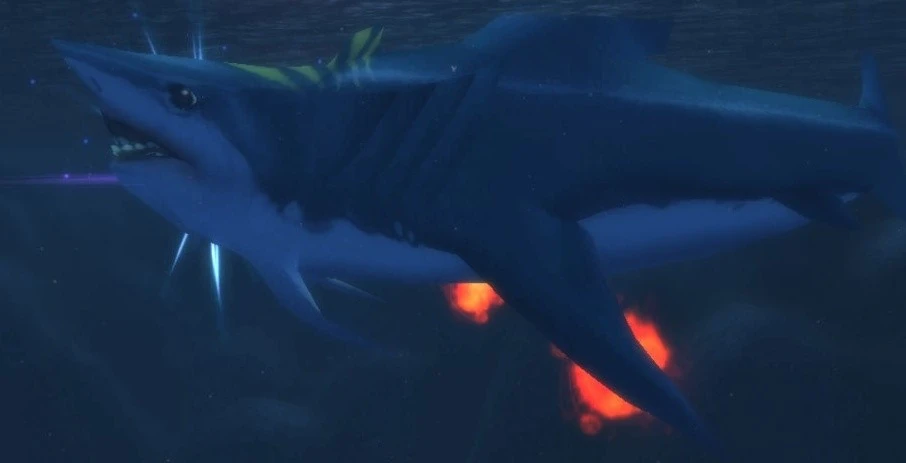
Maws

Maws
Location: Azshara
Raid 40
A massive shark that guard the blue shard of the Scepter of the Shifting Sands. Azuregos calls him a "minnow." It's a straightfoward fight, just tanking and DPS, although he does frenzy (to be dispelled by Hunters). He is currently the only water-bound raid boss in the game.
Prince Skaldrenox
Prince Skaldrenox
Location: Silithus
Raid 40
A member of the Abyssal High Council, he uses a powerful Blast Wave every 30 seconds, and applies a Mark of Flame to members of the raid, increasing Fire damage taken by 1000.
Prince Thunderaan

Prince Thunderaan
Location: Silithus
Raid 40
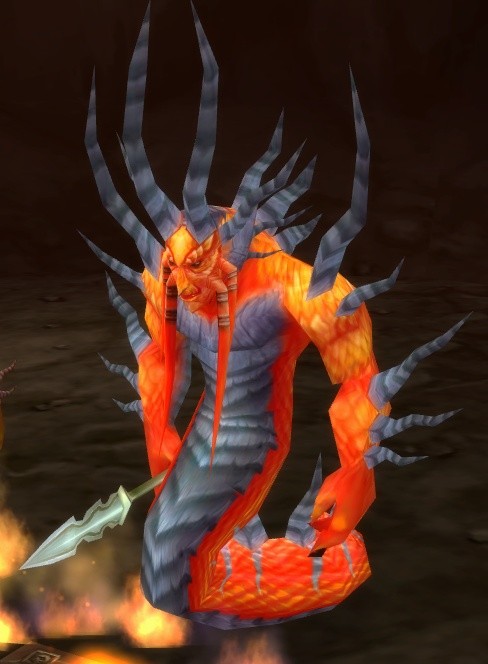
A massive, immensely powerful Air Elemental, son of Al'Akir the Windlord, Thunderaan was imprisoned long ago and his essence consumed when he was ambushed by Ragnaros, Baron Geddon and Garr. Defeating him is the final requirement to obtain the legendary sword Thunderfury. The vessel of rebirth required to summon him must be fashioned out of elementium, the essence of Ragnaros, and the bindings held by Geddon and Garr. He only has single target attacks that deal Nature damage.
Instance Bosses
Location: Molten Core
Baron Geddon

Baron Geddon
Location: Molten Core
Raid 40
A powerful Firelord that serves as one of Ragnaros' lieutenants and is partially responsible for Prince Thunderaan's imprisonment. Turns players into living bombs that explode after 10 seconds, dealing massive Fire damage to nearby allies and more often than not, killing the player. When near death, he starts a spell called Armageddon, which will likely kill anyone nearby should he succeed. Drops one half of the ![]() [Bindings of the Windseeker].
[Bindings of the Windseeker].
Garr


Garr
Location: Molten Core
Raid 40
A powerful Molten Rock Elemental that serves as one of Ragnaros' lieutenants and is partially responsible for Prince Thunderaan's imprisonment. He is guarded by eight Firesworn elementals that he can combust at will. He also consumes buffs. Killing Garr prevents the Lava Surgers that roam the instance from spawning. Drops all Tier 1 head pieces and one half of the ![]() [Bindings of the Windseeker].
[Bindings of the Windseeker].
Gehennas
Gehennas
Location: Molten Core
Raid 40
The second of five Flamewakers defending Molten Core. Will call down a powerful Rain of Fire on his attackers, and also has an AoE curse that greatly reduces healing.
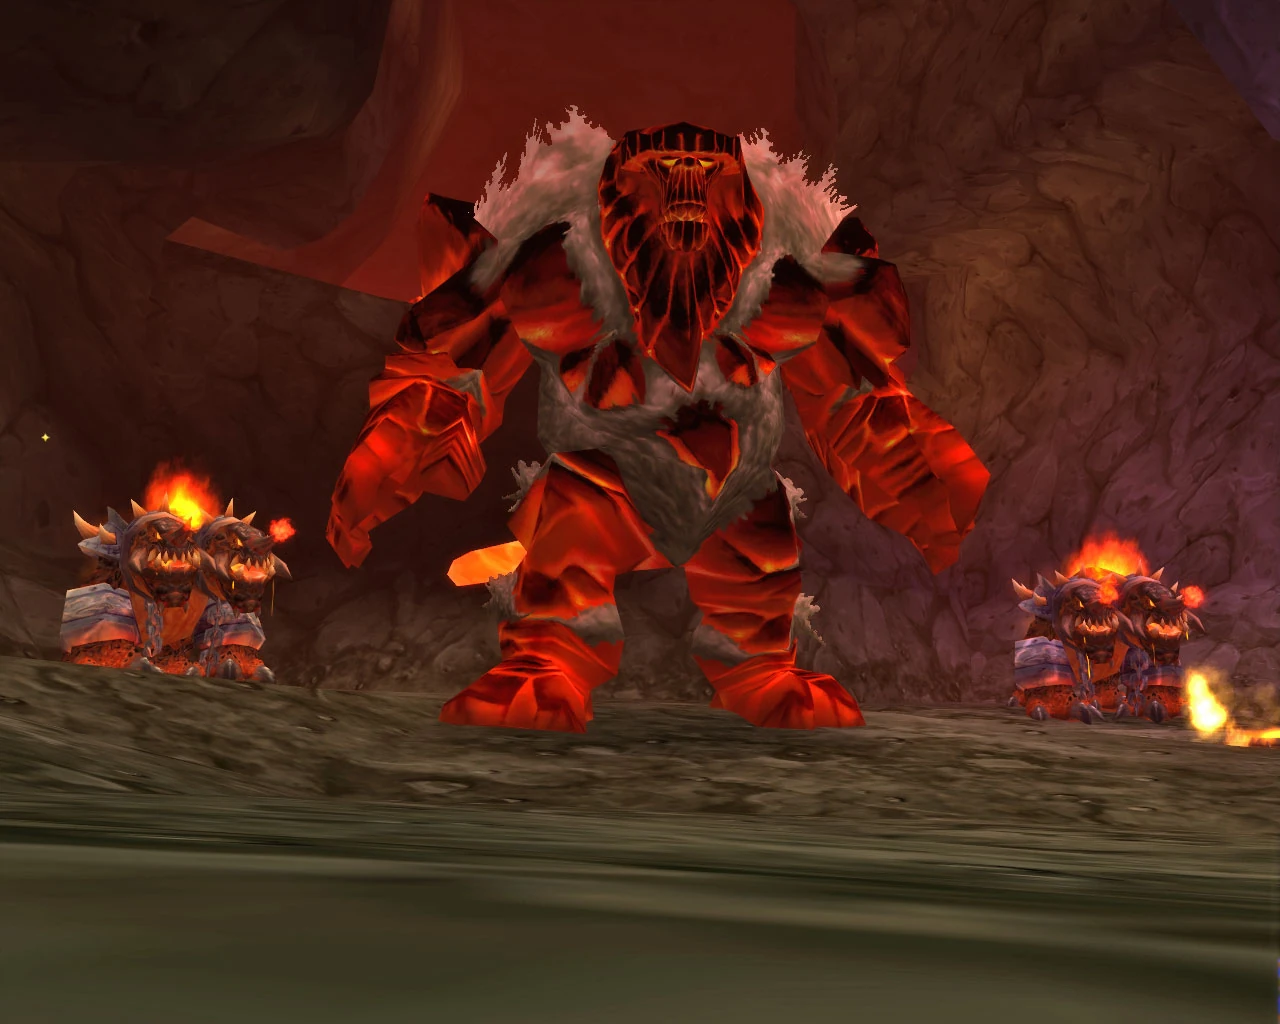
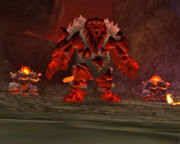
Golemagg the Incinerator
Golemagg the Incinerator
Location: Molten Core
Raid 40
A massive Molten Giant, Golemagg is the keeper of the valuable Sulfuron Ingots needed to form Sulfuras. He has two Core Hound pets that can not be killed until he dies. When low on health, he begins attacking much faster and causing earthquakes. Drops all Tier 1 chest pieces.
Lucifron
Lucifron
Location: Molten Core
Raid 40
The first of the five Flamewakers defending Molten Core, Lucifron is the first 40-man raid boss most players encounter. His attacks are all Shadow based, but Shadow Resistance is not needed in any way. His guards can mind control players, while he himself has an AoE Magic effect called Impending Doom that will deal 2000 Shadow damage if not dispelled quickly, as well as a Curse that doubles the mana/rage/energy cost of all abilities. Drops the Tome of ![]() [Tranquilizing Shot], a necessity for future bosses.
[Tranquilizing Shot], a necessity for future bosses.
Magmadar
Magmadar
Location: Molten Core
Raid 40
A favored pet of Ragnaros and progenitor of the Core Hounds that roam throughout the Molten Core. Goes into deadly frenzies that only Hunters can dispell, has an AoE Fear, and occasionally throws Lava Bombs that ignite the surrounding area, dealing massive Fire damage. Killing Magmadar prevents Ancient Core Hounds that roam the instance from spawning. Drops all Tier 1 leg pieces.
Majordomo Executus

Majordomo Executus
Location: Molten Core
Raid 40
The fifth and final Flamewaker defending Molten Core, Executus is Ragnaros' most trusted lieutenant, and will only appear once the protective runes throughout the Core are extinguished. His encounter is the first truely complex 40-man encounter players encounter, calling for an interesting juggling of his eight guards. Once the guards are dead, Executus will surrender and leave to go summon Ragnaros himself. He leaves behind a chest of Epic loot, most notably items required for the Hunter and Priest epic quests.
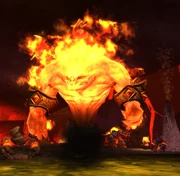
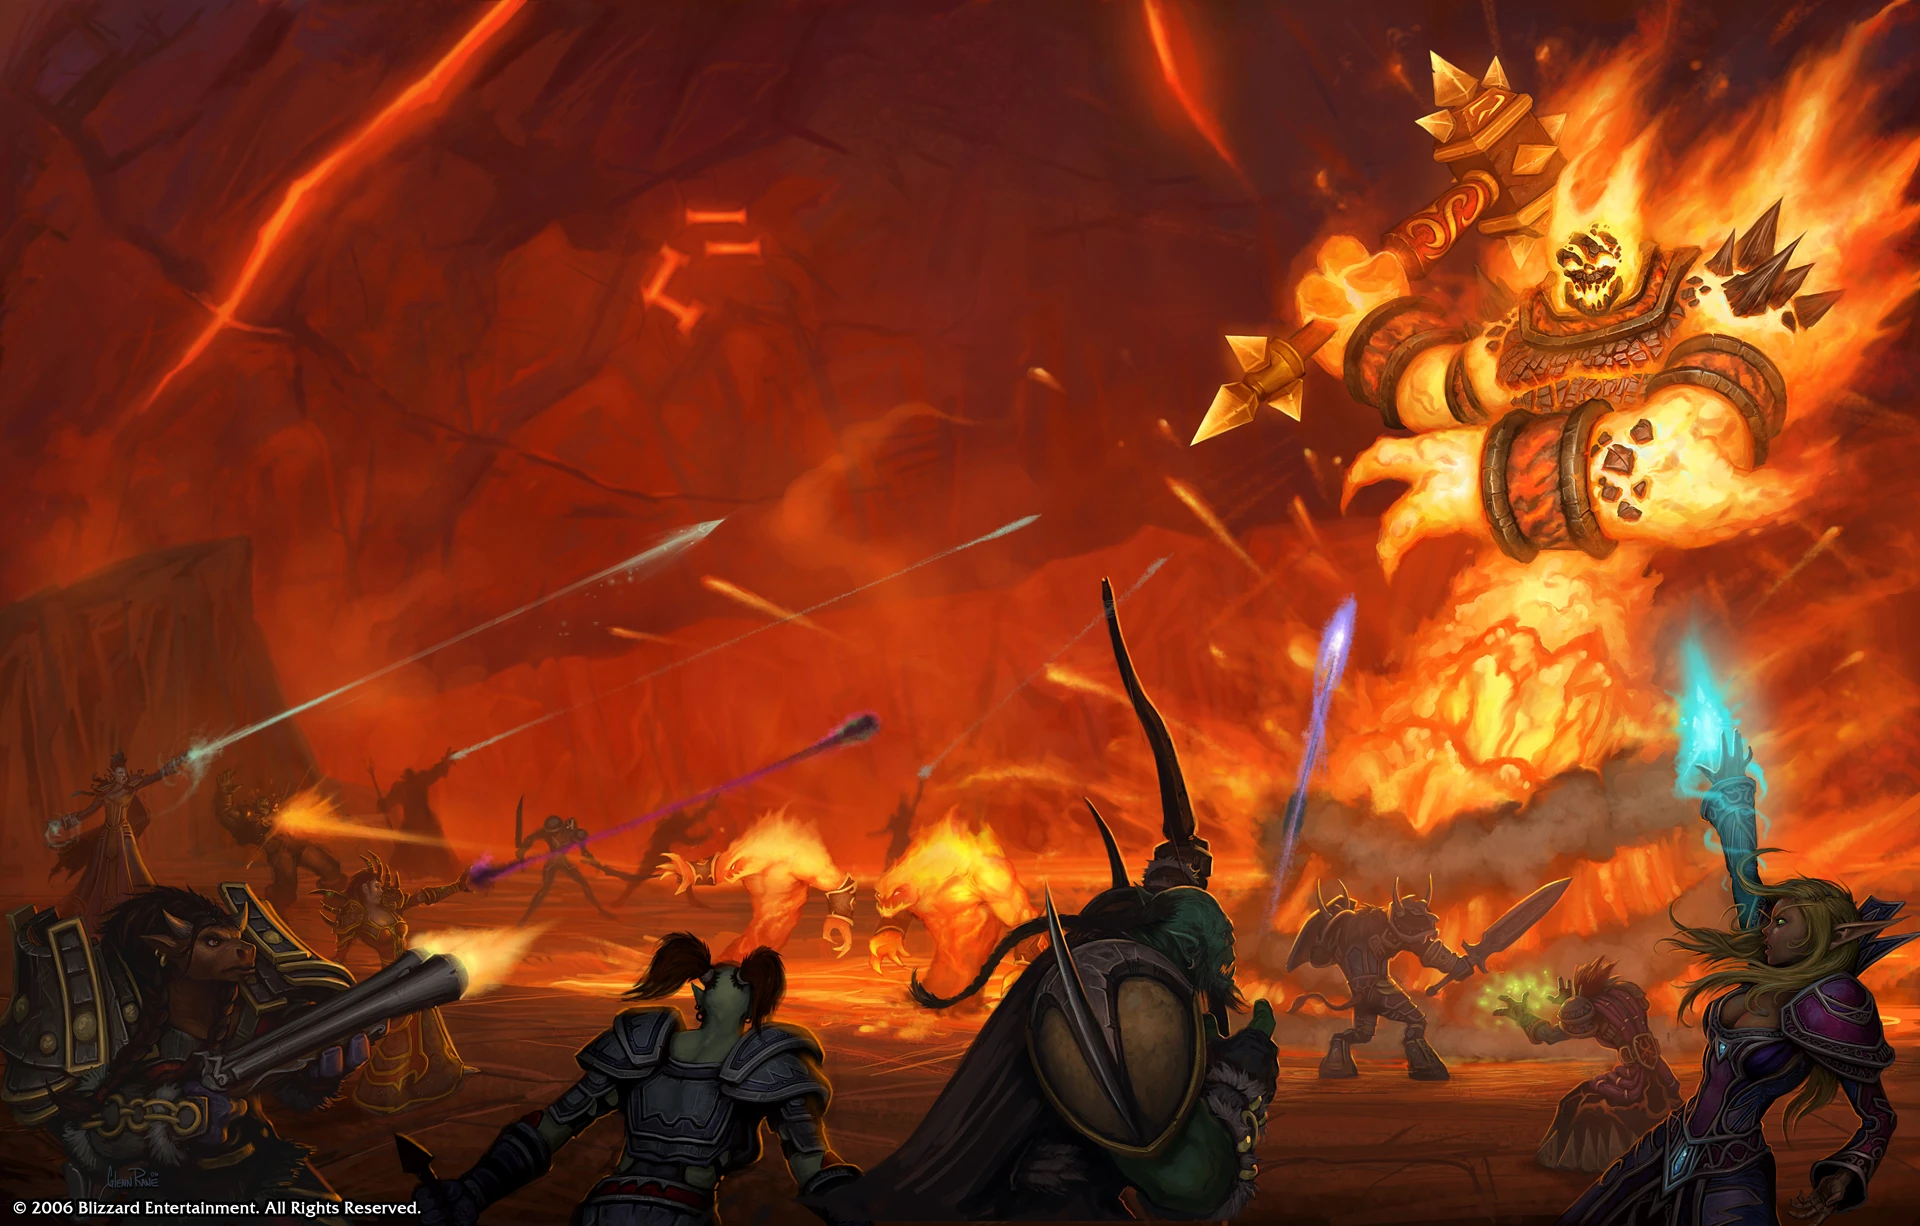
Ragnaros
Ragnaros
Location: Molten Core
Raid 40
One of the four Elemental Lieutenants of the Old Gods, Ragnaros is a being so powerful that his entrance into this world created the volcanic wastelands surrounding Blackrock Mountain. However, he is only a shadow of his former self, having been seperated from the powers of the Elemental Plane when he was summoned into Azeroth. He is the final boss in Molten Core. High Fire Resistance is a must for those who wish to challenge him. Drops all Tier 2 leg pieces, as well as the primary requirements for the legendary weapons, Sulfuras and Thunderfury.
Shazzrah


Shazzrah
Location: Molten Core
Raid 40
The third of the five Flamewakers defending Molten Core. Spams a powerful Arcane Explosion and casts an AoE Curse that reduces Arcane Resistance. Will also randomly Blink towards players.
Sulfuron Harbinger

Sulfuron Harbinger
Location: Molten Core
Raid 40
The fourth of the five Flamewakers defending Molten Core. His true name is not known. He is guarded by four Flamewaker Priests, who won't hesitate to heal Sulfuron or eachother.
Location: Blackwing Lair
Broodlord Lashlayer
Broodlord Lashlayer
Location: Blackwing Lair
Raid 40
A large black Drakonid, Broodlord Lashlayer oversees the suppression rooms in Blackwing Lair, keeping the many kidnapped dragon whelps in check. The encounter starts long before the raid even lays eyes on Lashlayer, as they battle their way through the complex suppression rooms. Drops all Tier 2 boots, and acquiring his head is the first of many steps in the quest to open the Gates of Ahn'Qiraj.
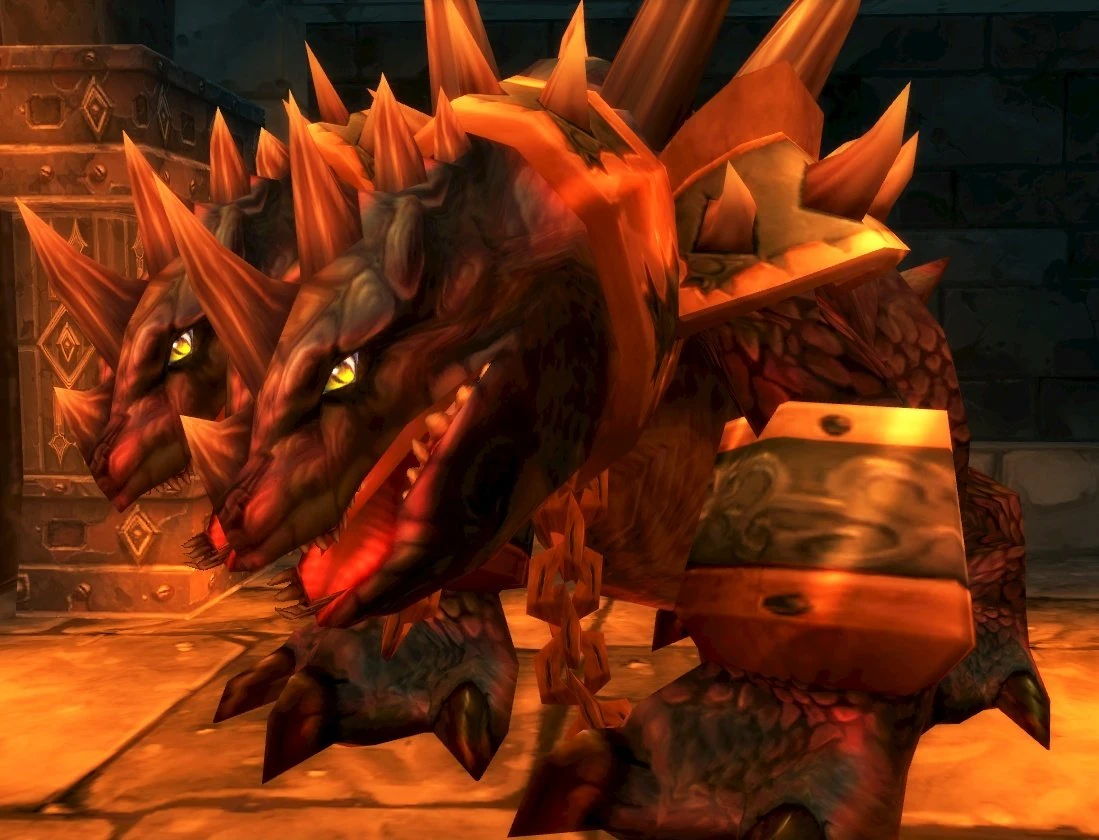
Chromaggus

Chromaggus
Location: Blackwing Lair
Raid 40
The only known Drakeadon in existence. The encounter is largely random, as his two heads will each have a random breath attack, and he casts random Brood Afflictions, applying nasty debuffs to all players. His skin also "shimmers," changing his vulnerability to certain schools of magic. Goes in frenzies that can be dispelled by Hunters, and enrages at 20% health. Drops all Tier 2 shoulder pieces.
Ebonroc
Ebonroc
Location: Blackwing Lair
Raid 40
The second of three black drakes found in Blackwing Lair. Like the other drakes, he uses Wing Buffet to reduce aggro, as well as the deadly Shadowflame, which needs to be mitigated by Onyxia Scale Cloaks. His unique ability is Shadow of Ebonroc, which applies a debuff to whoever is on top of the hate list. Whenever Ebonroc hits someone who has the debuff, he regains 25000 health. Drops all Tier 2 gloves.
Firemaw

Firemaw
Location: Blackwing Lair
Raid 40
The first of three black drakes found in Blackwing Lair. Like the other drakes, he uses Wing Buffet to reduce aggro, as well as the deadly Shadowflame, which needs to be mitigated by Onyxia Scale Cloaks. His unique ability is Flame Buffet, which applies a stackable Fire DoT to all enemies within his line of sight. Drops all Tier 2 gloves.
Flamegor

Flamegor
Location: Blackwing Lair
Raid 40
The third of three black drakes found in Blackwing Lair. Like the other drakes, he uses Wing Buffet to reduce aggro, as well as the deadly Shadowflame, which needs to be mitigated by Onyxia Scale Cloaks. His unique ability is Fire Nova, a direct damage attack that hits all enemies within his line of sight. However, he uses this only when frenzied, which can be dispelled by Hunters. Drops all Tier 2 gloves.
Nefarian
Nefarian
Location: Blackwing Lair
Raid 40
Son of the Black Dragon Aspect, Neltharion, and lord of the Black Dragonflight. He allied the Black Dragons with the Blackrock Clan, and is attempting to create a Chromatic Dragonflight. He also stole the red shard of the Scepter of the Shifting Sands from Vaelastrasz after defeating him, and threatend to destroy it. He is the final boss in Blackwing Lair. In Phase 1 of the encounter, players must fight off wave after wave of randomly colored Drakonids, all while an invulnerable Nefarian wanders amongst the raid in human form, randomly shadow bolting, mind controlling and fearing people. Nefarian leaves shortly after. Once 42 Drakonids are killed, Nefarian returns in dragon form, opening up with a Shadowflame that hits all members of the raid. He will then proceed to randomly call out classes, forcing all players of that class to do something bad based on their class (ie. forcing Druids into Cat Form, summoning hostile Infernals, etc.). At 20%, he resurrects all the dead Drakonids as Bone Constructs. Drops all Tier 2 chest pieces.
Razorgore the Untamed
Razorgore the Untamed
Location: Blackwing Lair
Raid 40
The most powerful known Dragonspawn in the world, Razorgore serves no master but himself. However, the dragon Nefarian found a way around that, creating a powerful orb that would allow the Blackrock Clan to control Razorgore, and uses the Dragonspawn to defend a clutch of Chromatic dragon eggs. He is the first boss in Blackwing Lair. The encounter involves using the orb to make Razorgore destroy the eggs, all while fighting off 40 other Orcs and Dragonspawn. It is known as one of the most chaotic encounters in the game, if not the most. Drops all Tier 2 bracers.
Vaelastrasz the Corrupt
Vaelastrasz the Corrupt
Location: Blackwing Lair
Raid 40
Vaelastrasz the Red was the keeper of the red shard of the Scepter of the Shifting Sands. He had sworn to destroy the dragon Nefarian, but lost the battle inside Blackwing Lair, losing the shard as a result. The raid comes upon Vaelastrasz just as Nefarian completes his corruption, and the mighty red dragon is helpless as Nefarian orders him to kill his allies. However, before the corruption is complete Vaelastrasz gives the players a buff called Essence of the Red, granting them unlimited mana, rage, and energy. However, this buff only last three minutes, and is crucial to the encounter. The dragon will also give players Burning Adrenaline, which makes all their spells instant cast but also eventually kills them. Drops all Tier 2 belts.
Onyxia's Lair
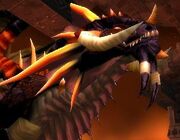
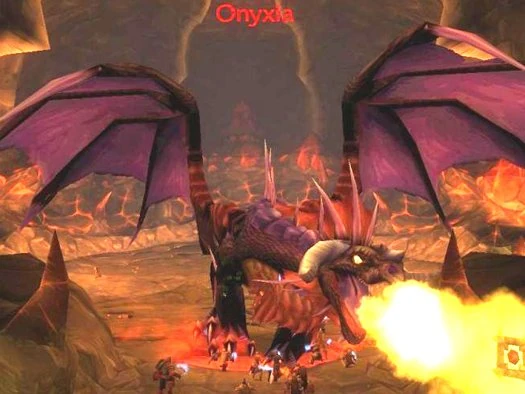
Onyxia

Onyxia
Daughter of the Black Dragon Aspect, Neltharion, and brood mother of the Black Dragonflight. When she isn't meddling in human affairs or plotting with her brother, Nefarian, she is in her lair in Dustwallow Marsh, fiercely protecting her eggs. Although small for a dragon her age, she is no less dangerous. The encounter is divided into three distinct phases. In the first phase, she is on the ground and is extremely difficult to tank. In the second phase, she takes flight and breathes fire down on her foes. In the final phase, she lands once again and begins fearing her attackers, all while the ground erupts beneath their feet. Drops all Tier 2 head pieces, as well the sinew required for the Hunter epic quest.
The Temple of Ahn'Qiraj
Battleguard Sartura

Battleguard Sartura
Location: The Temple of Ahn'Qiraj
Raid 40
A Qiraji Battleguard in Ahn'Qiraj, Sartura and her three guards are nasty opponents. All of them constantly reset aggro lists, the guards punt their opponents, and Sartura enrages at 20%. And if she isn't dead within 10 minutes, she goes into a super-enrage that is sure to wipe the raid.
C'Thun
C'Thun
Location: The Temple of Ahn'Qiraj
Raid 40
One of the Old Gods who ruled Azeroth prior to the coming of the Titans, C'Thun has been plotting his revenge since the day he was defeated by a nameless Titan in the deserts of Silithus. It was he who created the Aqir, ancestors of the Qiraji and the Nerubians, in the image of the Silithid. And it is he who drives the Qiraji on their relentless campaign. He is the final boss in Ahn'Qiraj. During phase 1 of the fight, players must contend with his Eye, which shoots immensely powerful beams of energy, and an assortment of minor tentacles. In phase 2, his body surfaces and giant tentacles appear, including mouth tentacles that swallow players whole. Those players plummet down into his stomach, full of disgestive acid, and must defeat some tentacles inside his stomach in order to weaken him. Drops the items required for the AQ Set chest pieces.
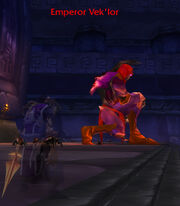
Emperor Vek'lor

Emperor Vek'lor
Location: The Temple of Ahn'Qiraj
Raid 40
Fought alongside his twin brother, Vek'nilash, this Qiraji Emperor is immune to all physical damage, resulting in an interesting tanking situation. He spams Shadow Bolt and casts Blizzard. He reacts with an incredibly powerful attack that will wipe the raid if someone hits him with a physical attack. And for good measure, he constantly teleport-switches with his twin, who has a similar reaction to magical attacks. Drops a circlet required for the AQ Set head pieces.
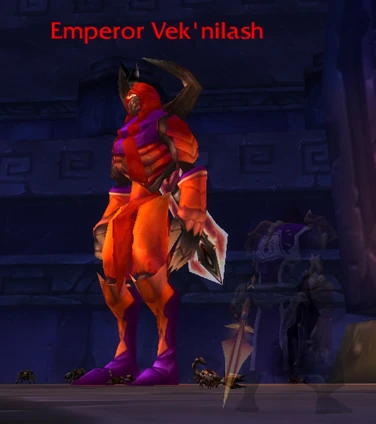
Emperor Vek'nilash

Emperor Vek'nilash
Location: The Temple of Ahn'Qiraj
Raid 40
Fought alongside his twin brother, Vek'lor, this Qiraji Emperor is immune to all magical damage. He has an Uppercut attack that knocks back opponents, and Unbalancing Strike, which deals massive damage and lowers Defense by 100. He reacts with an incredibly powerful attack that will wipe the raid if someone hits him with a magical attack. And for good measure, he constantly teleport-switches with his twin, who has a similar reaction to physical attacks. Drops a circlet required for the AQ Set head pieces.
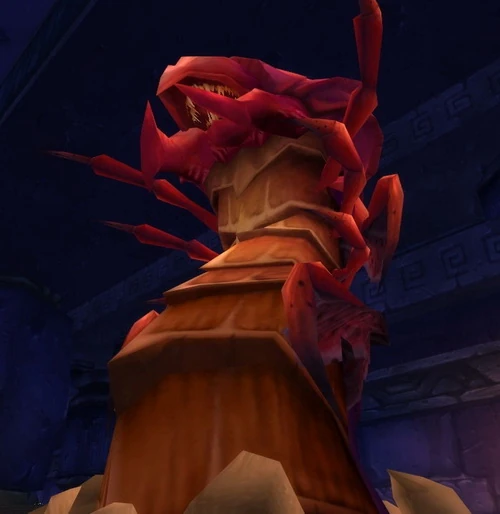
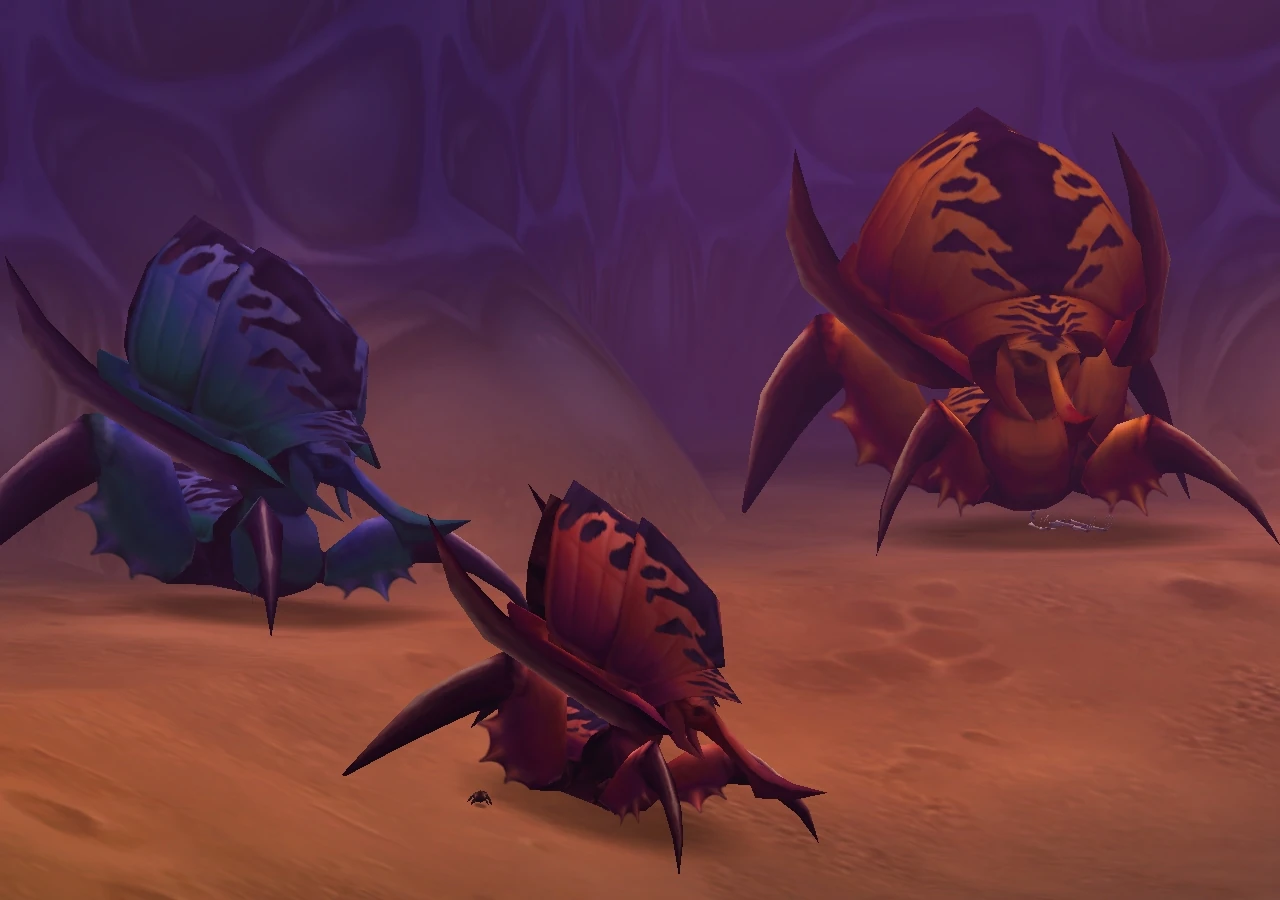
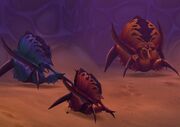
Fankriss the Unyielding
Fankriss the Unyielding
Location: The Temple of Ahn'Qiraj
Raid 40
One of only two known silithid Sandreavers, Fankriss summons many, many bugs during the encounter. He has an ability called Mortal Wound which cleaves through opponents and severely hinders healing.
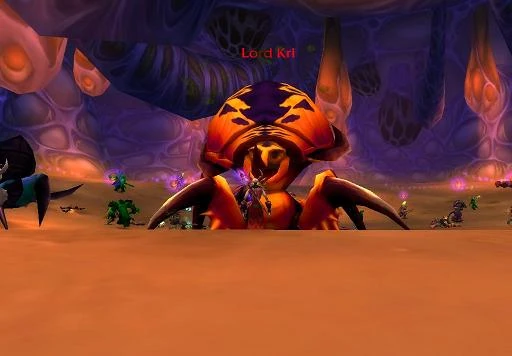
Lord Kri

Lord Kri
Location: The Temple of Ahn'Qiraj
Raid 40
One of the three optional Silithid Colossi found in Ahn'Qiraj, players must fight Lord Kri at the same time as Princess Yauj and Vem. Loot received from the encounter depends on the order the Colossi are killed in, and killing Lord Kri last is the hardest method and yields the best loot. He has an AoE Toxic Volley that hits all players in the room for Nature damage while applying a Poison DoT. When he dies, his corpse leaves behind a deadly toxic cloud.
Ouro

Ouro the Sandworm
Location: The Temple of Ahn'Qiraj
Raid 40
The ancient Silithid Sand Worm, Ouro, is a being of legendary power. He is rumored to have been created by the Old God C'Thun himself as a mockery of life. He is the last optional boss in Ahn'Qiraj, and is Nature Resist intensive. During combat, he has a powerful breath attack called Sand Blast which deals large Nature damage, and an AoE knockback attack that often results in him targeting ranged attackers and healers. He also submerges at set intervals. When submerged, Dirt Mounds begin tearing around the room at random, dealing Nature damage to anyone caught their path. Once he reaches 20%, he enrages AND starts summoning Dirt Mounds without submerging. Drops the items required for the AQ Set leg pieces.
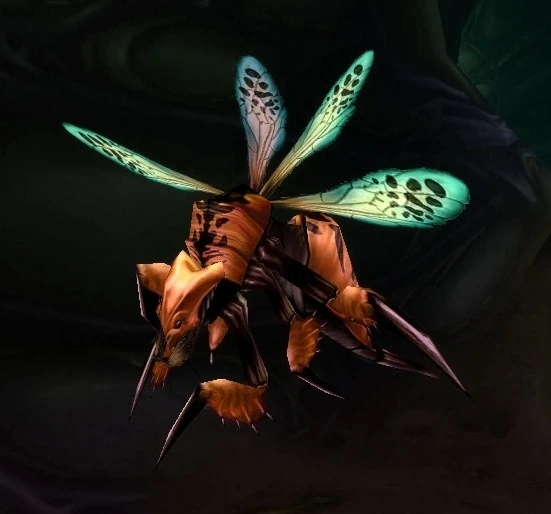
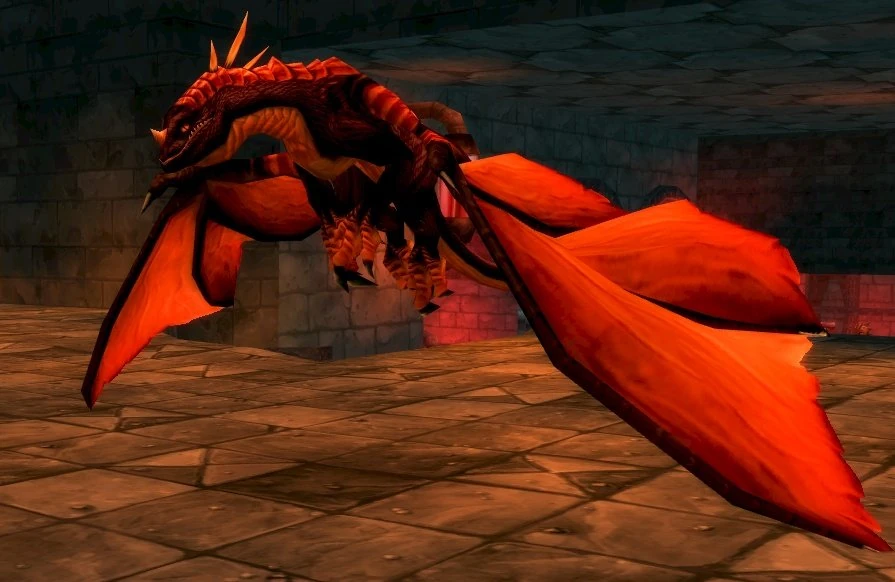
Princess Huhuran
Princess Huhuran
Location: The Temple of Ahn'Qiraj
Raid 40
A lone Silithid Wasp, Huhuran is a Nature Resistance intensive fight. Goes into frenzies that need to be dispelled by Hunters. Has deadly Nature AoE that she uses when frenzied or enraged, spews Noxious Poison, and uses an AoE Wyvern Sting that not only put players to sleep, but deals thousands of Nature damage if dispelled. Enrages at 30%. Drops the bindings required for the AQ Set boots and shoulder pieces.
Princess Yauj
Princess Yauj
Location: The Temple of Ahn'Qiraj
Raid 40
One of the three optional Silithid Colossi found in Ahn'Qiraj, players must fight Princess Yauj at the same time as Lord Kri and Vem. Loot received from the encounter depends on the order the Colossi are killed in, and killing Princess Yauj last is the intermediary route, yielding good loot but not the best. She has an AoE Fear, and heals herself as well. Upon death, she releases a swarm of Silithids.
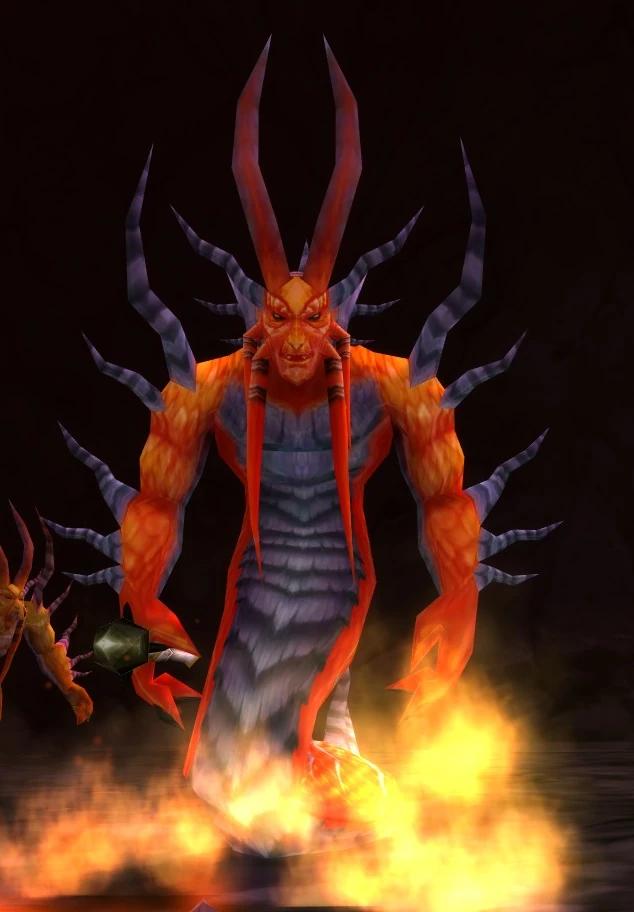
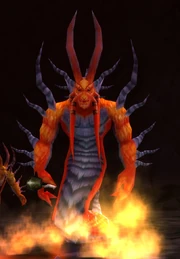
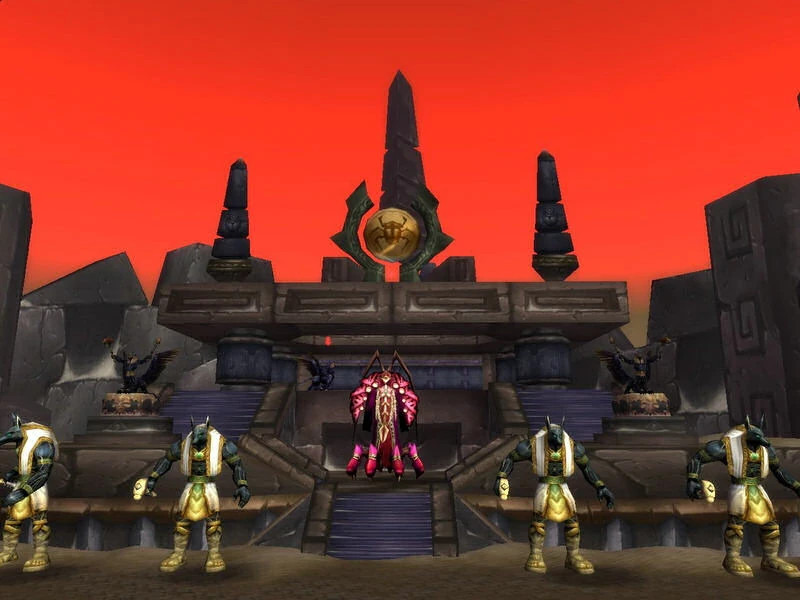
The Prophet Skeram

The Prophet Skeram
Location: The Temple of Ahn'Qiraj
Raid 40
Religious leader of the Qiraji and author of the Prophecy of C'Thun, the Prophet Skeram is the first boss in Ahn'Qiraj. Creates two mirror images of himself at 25% health intervals, and both the images and himself can Blink, Earth Shock, and Arcane Explosion. He also casts True Fulfillment on random targets, mind controlling them while increasing their damage, movement and resistance, and making their spells instant-cast.
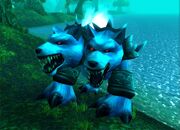
Vem
Triumvirate
Location: The Temple of Ahn'Qiraj
Raid 40
One of the three optional Silithid Colossi found in Ahn'Qiraj, players must fight Vem at the same time as Lord Kri and Princess Yauj. Loot received from the encounter depends on the order the Colossi are killed in, and killing Vem last is the easiest method and yields the lowest quality loot. Vem can charge his opponents.
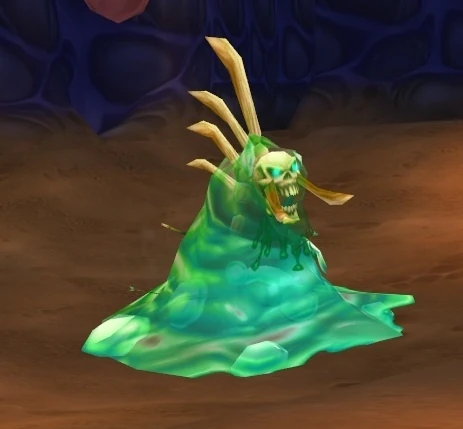
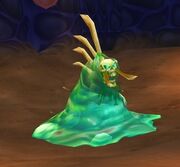
Viscidus
Viscidus
Location: The Temple of Ahn'Qiraj
Raid 40
A giant Slime, Viscidus is the second optional encounter in Ahn'Qiraj, and is a highly Nature Resistance intensive fight. Not only that, but he is a very interesting fight as well. He normally takes only 50% of normal damage. However, if he is hit by enough Frost attacks (whatever the source), he will freeze. Once frozen, physical attackers move in and attack him until he shatters, exploding into 20 globs. Once these globs reunite, Viscidus appears again. Killing a glob deals 5% damage to his total health, and is the most efficient way of killing him. Drops the bindings required for the AQ Set boots and shoulder pieces.