Erobus-gpuser (talk | contribs) |
WoWWiki-Manan@legacy41585357 (talk | contribs) No edit summary |
||
| Line 1: | Line 1: | ||
{{bc}} |
{{bc}} |
||
| − | {{stub/NPC}} |
||
| − | '''High King Maulgar''' is the lord of the [[ogre]] council in [[Gruul's Lair]] in the [[Blade's Edge Mountains]] of [[Outland]]. |
+ | '''High King Maulgar''' is the lord of the [[ogre]] council in [[Gruul's Lair]] in the [[Blade's Edge Mountains]] of [[Outland]]. His council is comprised of [[Kiggler the Crazed]], [[Blindeye the Seer]], [[Olm the Summoner]] and [[Krosh Firehand]]. |
| + | ==Abilities== |
||
| − | Single target damage 4000 on plate, arcing smash 5000~12000 damage on plate. |
||
| + | * Single target damage is around 4000 on plate |
||
| + | * Arcing Smash, 5000~12000 damage on plate |
||
| ⚫ | |||
| + | * At 30%, he will begin charging random raid members |
||
| + | ==Council Abilities== |
||
| ⚫ | |||
| ⚫ | * '''Krosh Firehand (Mage)''' - Casts a Spell Shield which a mage can spell-steal. It reduces incoming spell damage by 75%, and lasts for 30 seconds. Note that Krosh will only recast Spell Shield when he isn't casting a (4s cast) Greater Fireball. This means that the tanking Mage's Spell Shield can fade, and he must take one full damage fireball before he can steal another shield. Greater Fireball hits for 8500-9500 damage. The tanking mage should gear for stamina until he reaches a minimum of 10500 hp buffed, more is better. Mana should not be completely disregarded, as repeated Spellstealing is costly. Krosh also casts Blast Wave which deals roughly 6000 damage and has extremely short(~10 yards) range. No one should take Blast Wave damage. |
||
| ⚫ | * '''Olm the Summoner (Warlock)''' - Casts a heavy shadow DoT, summons felhounds, and will occasionally death coil. He should be tanked by his own Felhounds. (via enslave) Olm will place a stacking debuff on the Wild Fel Stalker that must be removed by the pet, which is an ability that is not auto cast but on a short cooldown. |
||
| ⚫ | * '''Kiggler the Crazed (Shaman)''' - Has an occasional AE knock-back that deals roughly 2.5k damage. He typically attacks with ranged lightning bolts and may be tanked by a hunter with good stamina and NR. He will sometimes Hex his primary target, so 2 tanks are preferred. He does not have a lightning shield as has been previously reported. Alternatively you can use a druid to tank Kiggler since druids are immune to the hex. |
||
| ⚫ | |||
==Strategy== |
==Strategy== |
||
| + | The key to get into this fight is the pull. Everyone needs to stand in the correct position to minimalize the impact of the area-effect abilities. The typical kill order is Priest, Warlock, Mage, Shaman, and finally Maulgar. Priest and Warlock can both be focus-fired by melee and ranged together, so they go down quickly. Shaman and Mage are ranged-only DPS and die more slowly. Due to many of the ogres having anti-melee damage (fire nova, AE knock-back, maulgar whirlwind), ranged DPS is more of an asset than melee DPS for this specific fight. |
||
| − | *'''High King Maulgar''' the Lord of the Ogres along with his council, [[Kiggler the Crazed]], [[Blindeye the Seer]], [[Olm the Summoner]] and [[Krosh Firehand]]. |
||
| + | |||
| − | * Maulgar (warrior ogre) hits the main tank very hard and requires a very well geared tank. He will randomly move around and whirlwind on occasion. His damage can be mitigated by a very large amount(around 30%) by having a warlock keep Curse of Weakness up. |
||
| + | The mage tanking Krosh Firehand should place himself completely to the right and move straight forward. Just in front of Krosh Firehand there's a slight "clip" and that is where you should stand before the pull takes place. Be sure not to move too close to the "clip" or you will aggro the room. A good reference point can be used just before the clip, there is a portion of the wall to your right that makes a "corner" that is a safe reference point stay at when preparing for the pull. When High King Maulgar gets aggro'd you shoot any instant-spell you have (fire blast, PoM pyro) at Krosh Firehand and spellsteal his shield immediately afterwards. Positioning Krosh is easy. When you aggro him, he will run to you until he is right next to you, then he will stay at that point and fireball you. Make sure that you position him in the far right corner so the raid does not have to worry about the flame wave ability. This is easily done by running to the corner after a fireblast and just waiting until he gets to you and then blinking to get out of the range of the flame wave. |
||
| ⚫ | * Krosh Firehand ( |
||
| + | |||
| ⚫ | * Olm the Summoner ( |
||
| + | High King Maulgar gets pulled to the other side of where he's standing. He remains all time of the fight on his position. As for Olm the Summoner, the warriors and the warlocks run straight to him, but beware of the Blastwave of Krosh Firehand. He should be tanked in the back of the room. Kiggler the Crazed can be tanked by a combination of two hunters or two warlocks who are siphon life/drain tanking him. Alternatively he can be tanked by a moonkin druid because of the immunity to polymorph. Blindeye the Seer has to be pulled in the way of the entrance. Warriors and other melee are on the Priest doing damage. |
||
| ⚫ | * Kiggler the Crazed ( |
||
| + | |||
| ⚫ | |||
| + | It is important that you have enough damage to make Blindeye the Seer's shield disappear. Have someone giving information when the shield is up and then just burst his shield down. If the shield is down, just interrupt his healing ability. You should only have to deal with two or three shields while damaging him down, then all the melee should go to Olm the Summoner while all ranged DPS concentrates on Krosh Firehand. While you walk to those two encounters, make sure to avoid Krosh Firehand's Blastwave. Stay calm, be cautious, and bring those two adds down. Once Olm the Summoner is down, Krosh Firehand should follow right after. Finally everyone ranged DPSes Kiggler the Crazed down. |
||
| − | --- |
||
| + | |||
| − | * Typical kill order is Priest then Warlock then Mage then Shaman, and finally Maulgar. Priest and Warlock can both be focus-fired by melee and ranged together, so they go down quickly. Shaman and Mage are ranged-only DPS and die more slowly. |
||
| + | After all 4 adds are down, ensure your healers have enough mana. All free healers should recover some mana before entering the fight against High King Maulgar. Same goes for caster-DPS. High King Maulgar hits very hard, but his damage can be mitigated by around 30% if [[Curse of Weakness]] is kept up on him by a warlock. Melees don't enter the fight right away, they have to wait until High King Maulgar does his first Whirlwind. When the Whirlwind vanishes you can enter the fight for about 25-35 seconds, then you should move away to prevent his Whirlwind from hitting you! |
||
| − | * Obviously ranged DPS is more of an asset than melee DPS for this specific fight, due to many of the ogres having anti-melee damage (fire nova, AE knock-back, maulgar whirlwind) |
||
| + | |||
| − | * Maulgar himself hits very hard. Several guild prefer using a well geared feral druid since they handle his spike damage alot better. Your druid should have 17k HP and 25k+ armor raid buffed without Inspiration. Some +defense and 25% dodge recommended as well (Use a Shaman for Grace of Air Totem if possible since it easily grants a druid another 5-7% dodge). If you are having trouble with tank deaths, consider having a feral druid geared out for this tank Maulgar. |
||
| + | At around 30% High King Maulgar starts his random charges and if you're unlucky the whirlwinds wipe the raid. Your main tank has to give everything to bring High King Maulgar back to his position. He isn't untankable, but he is unstable! At this time just DPS him down, it shouldn't take too long. |
||
| ⚫ | |||
==High King Maulgar Loot== |
==High King Maulgar Loot== |
||
| Line 59: | Line 66: | ||
==External Links== |
==External Links== |
||
*Loot Table: [http://www.gsdkp.com/items.php?z=23&f=High%20King%20Maulgar gsDKP.Com] 9 Items - 3x Tier 4 Shoulder tokens, 6x Regular drops) |
*Loot Table: [http://www.gsdkp.com/items.php?z=23&f=High%20King%20Maulgar gsDKP.Com] 9 Items - 3x Tier 4 Shoulder tokens, 6x Regular drops) |
||
| ⚫ | |||
{{elinksmob|1059486|18831}} |
{{elinksmob|1059486|18831}} |
||
Revision as of 20:59, 26 February 2007
Template:Bc
High King Maulgar is the lord of the ogre council in Gruul's Lair in the Blade's Edge Mountains of Outland. His council is comprised of Kiggler the Crazed, Blindeye the Seer, Olm the Summoner and Krosh Firehand.
Abilities
- Single target damage is around 4000 on plate
- Arcing Smash, 5000~12000 damage on plate
- Whirlwind, 7000 damage on plate
- At 30%, he will begin charging random raid members
Council Abilities
- Krosh Firehand (Mage) - Casts a Spell Shield which a mage can spell-steal. It reduces incoming spell damage by 75%, and lasts for 30 seconds. Note that Krosh will only recast Spell Shield when he isn't casting a (4s cast) Greater Fireball. This means that the tanking Mage's Spell Shield can fade, and he must take one full damage fireball before he can steal another shield. Greater Fireball hits for 8500-9500 damage. The tanking mage should gear for stamina until he reaches a minimum of 10500 hp buffed, more is better. Mana should not be completely disregarded, as repeated Spellstealing is costly. Krosh also casts Blast Wave which deals roughly 6000 damage and has extremely short(~10 yards) range. No one should take Blast Wave damage.
- Olm the Summoner (Warlock) - Casts a heavy shadow DoT, summons felhounds, and will occasionally death coil. He should be tanked by his own Felhounds. (via enslave) Olm will place a stacking debuff on the Wild Fel Stalker that must be removed by the pet, which is an ability that is not auto cast but on a short cooldown.
- Kiggler the Crazed (Shaman) - Has an occasional AE knock-back that deals roughly 2.5k damage. He typically attacks with ranged lightning bolts and may be tanked by a hunter with good stamina and NR. He will sometimes Hex his primary target, so 2 tanks are preferred. He does not have a lightning shield as has been previously reported. Alternatively you can use a druid to tank Kiggler since druids are immune to the hex.
- Blindeye the Seer (Priest) - Casts a huge AoE heal that is interruptable. Can Power Word: Shield himself before cast the heal and can't be interrupted when the shield is up. Typically tanked by a warrior.
Strategy
The key to get into this fight is the pull. Everyone needs to stand in the correct position to minimalize the impact of the area-effect abilities. The typical kill order is Priest, Warlock, Mage, Shaman, and finally Maulgar. Priest and Warlock can both be focus-fired by melee and ranged together, so they go down quickly. Shaman and Mage are ranged-only DPS and die more slowly. Due to many of the ogres having anti-melee damage (fire nova, AE knock-back, maulgar whirlwind), ranged DPS is more of an asset than melee DPS for this specific fight.
The mage tanking Krosh Firehand should place himself completely to the right and move straight forward. Just in front of Krosh Firehand there's a slight "clip" and that is where you should stand before the pull takes place. Be sure not to move too close to the "clip" or you will aggro the room. A good reference point can be used just before the clip, there is a portion of the wall to your right that makes a "corner" that is a safe reference point stay at when preparing for the pull. When High King Maulgar gets aggro'd you shoot any instant-spell you have (fire blast, PoM pyro) at Krosh Firehand and spellsteal his shield immediately afterwards. Positioning Krosh is easy. When you aggro him, he will run to you until he is right next to you, then he will stay at that point and fireball you. Make sure that you position him in the far right corner so the raid does not have to worry about the flame wave ability. This is easily done by running to the corner after a fireblast and just waiting until he gets to you and then blinking to get out of the range of the flame wave.
High King Maulgar gets pulled to the other side of where he's standing. He remains all time of the fight on his position. As for Olm the Summoner, the warriors and the warlocks run straight to him, but beware of the Blastwave of Krosh Firehand. He should be tanked in the back of the room. Kiggler the Crazed can be tanked by a combination of two hunters or two warlocks who are siphon life/drain tanking him. Alternatively he can be tanked by a moonkin druid because of the immunity to polymorph. Blindeye the Seer has to be pulled in the way of the entrance. Warriors and other melee are on the Priest doing damage.
It is important that you have enough damage to make Blindeye the Seer's shield disappear. Have someone giving information when the shield is up and then just burst his shield down. If the shield is down, just interrupt his healing ability. You should only have to deal with two or three shields while damaging him down, then all the melee should go to Olm the Summoner while all ranged DPS concentrates on Krosh Firehand. While you walk to those two encounters, make sure to avoid Krosh Firehand's Blastwave. Stay calm, be cautious, and bring those two adds down. Once Olm the Summoner is down, Krosh Firehand should follow right after. Finally everyone ranged DPSes Kiggler the Crazed down.
After all 4 adds are down, ensure your healers have enough mana. All free healers should recover some mana before entering the fight against High King Maulgar. Same goes for caster-DPS. High King Maulgar hits very hard, but his damage can be mitigated by around 30% if ![]() [Curse of Weakness] is kept up on him by a warlock. Melees don't enter the fight right away, they have to wait until High King Maulgar does his first Whirlwind. When the Whirlwind vanishes you can enter the fight for about 25-35 seconds, then you should move away to prevent his Whirlwind from hitting you!
[Curse of Weakness] is kept up on him by a warlock. Melees don't enter the fight right away, they have to wait until High King Maulgar does his first Whirlwind. When the Whirlwind vanishes you can enter the fight for about 25-35 seconds, then you should move away to prevent his Whirlwind from hitting you!
At around 30% High King Maulgar starts his random charges and if you're unlucky the whirlwinds wipe the raid. Your main tank has to give everything to bring High King Maulgar back to his position. He isn't untankable, but he is unstable! At this time just DPS him down, it shouldn't take too long.
High King Maulgar Loot
- Tier 4 shoulder tokens:
| [Pauldrons of the Fallen Champion] | Template:Class Icon Paladin SmallTemplate:Class Icon Rogue SmallTemplate:Class Icon Shaman Small |
| [Pauldrons of the Fallen Defender] | Template:Class Icon Warrior SmallTemplate:Class Icon Priest SmallTemplate:Class Icon Druid Small |
| [Pauldrons of the Fallen Hero] | Template:Class Icon Hunter SmallTemplate:Class Icon Mage SmallTemplate:Class Icon Warlock Small |
Other drops:
  The Belt of Divine Inspiration The Belt of Divine Inspiration drops from High King Maulgar in Gruul's Lair. Patch changes
External links |
The Bladespire Warbands drops from High King Maulgar in Gruul's Lair. Gallery
Patch changes
External links |
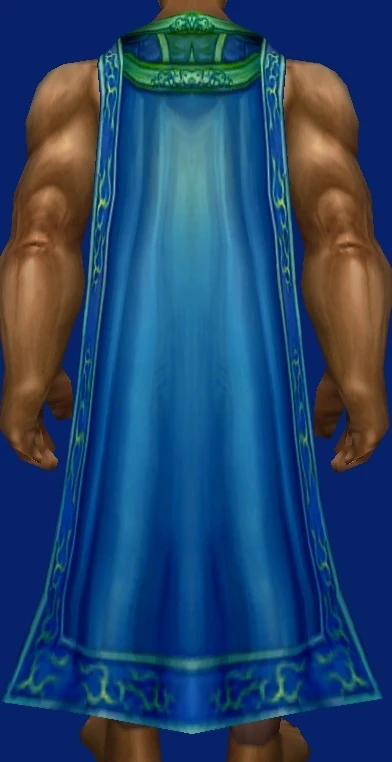
Brute Cloak of the Ogre-Magi is an epic cloak for DPS casters. SourceThis item drops from High King Maulgar in Gruul's Lair. External links
  |
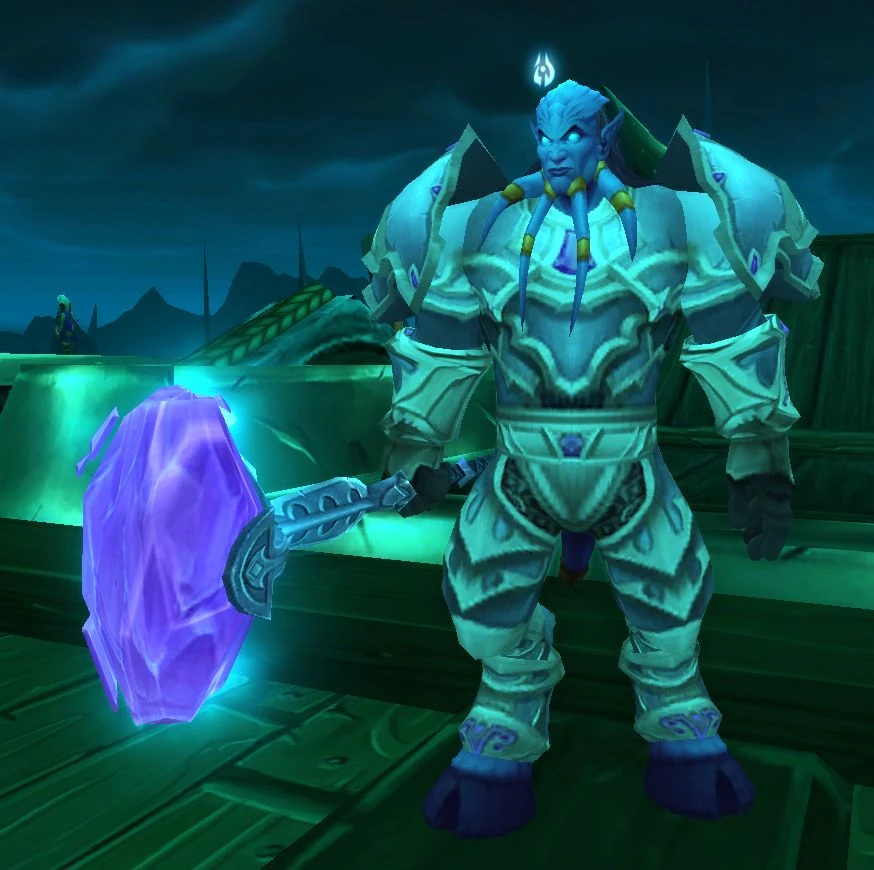
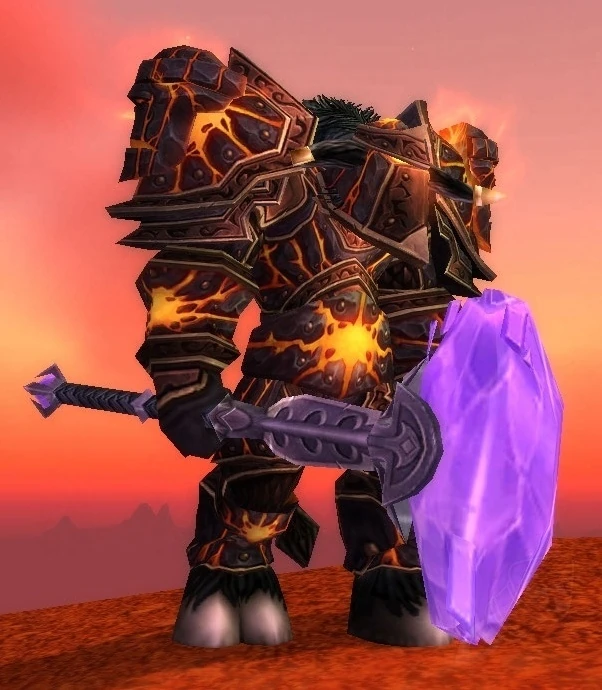
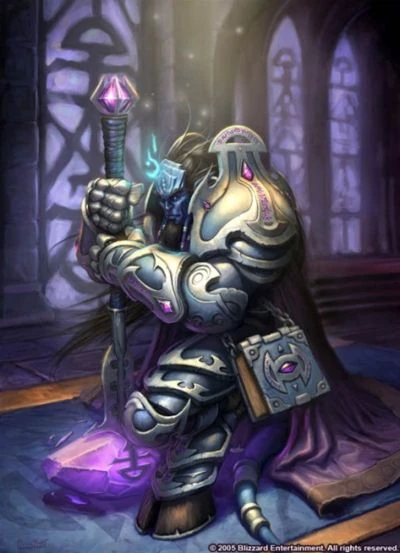
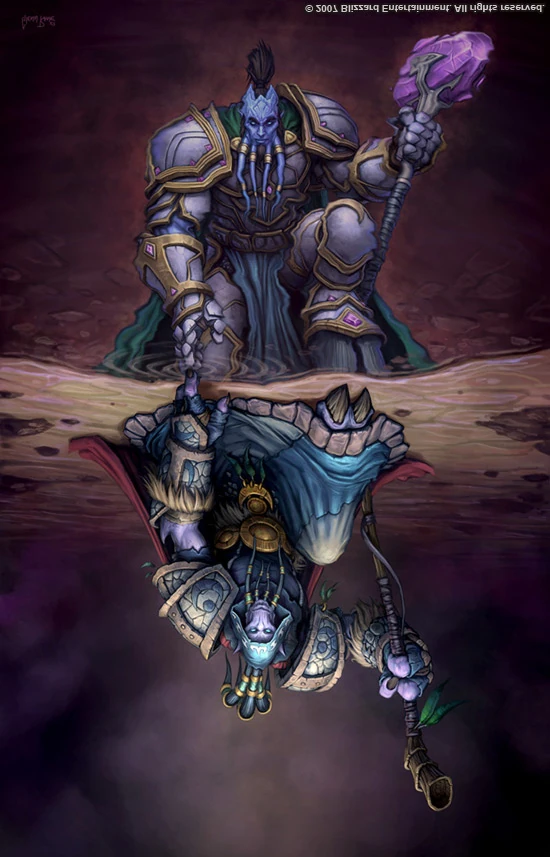
  The Hammer of the Naaru is a Light-blessed crystalline weapon,[1] an epic two-handed mace best designed for paladins and enhancement-specced shamans. SourceThis item drops from High King Maulgar in Gruul's Lair. Notes
Gallery
Patch changes
See alsoReferences
External links |

 Malefic Mask of the Shadows The Malefic Mask of the Shadows drops from High King Maulgar in Gruul's Lair. Patch changes
External links |
Maulgar's Warhelm is an epic mail helm. SourceThis item drops from High King Maulgar in Gruul's Lair. External links  |
Movies
- High King Maulgar kill movie from Forlorn Legacy guild.
- High King Maulgar video- hunter POV from War Front , Frostmane - US. [1]
- High King Maulgar Kill (Mage PoV) from Eclipsed , Anetheron - US. [2]
- High King Maulgar Kill (Healer PoV)
- High King Maulgar kill movie (Warlock PoV) from Achchazu, Krag'jin-EU
External Links
- Loot Table: gsDKP.Com 9 Items - 3x Tier 4 Shoulder tokens, 6x Regular drops)
- High King Maulgar Strategy Guide (Bosskillers.com)
Template:Elinksmob